
Integrating Blackbox.ai with Supabase
July 21, 2025
These days, building and validating prototypes quickly is more crucial than ever. In a previous post, I explored the potential of developer-friendly AI tools like Blackbox.ai and Adeline.ai.
In this post, I’ll walk through a hands-on example of integrating Supabase with the Remote Agent feature provided by Blackbox.ai. Supabase is a Backend as a Service (BaaS) platform that makes backend setup incredibly simple—making it ideal for MVP development.
What is Blackbox.ai’s Remote Agent?
The Remote Agent feature in Blackbox.ai is similar to the App Builder, but with expanded capabilities that allow integration with external environments (e.g., GitHub) via a UI.
Session-Based Environment: Like App Builder, the Remote Agent runs in session-based environments, which are reset by default when a session ends.
File Downloads: You can download the generated code as individual files from Blackbox.ai. However, it doesn’t currently support downloading the entire project as a single bundled file.
GitHub Integration for Persistent Development: You can connect to GitHub to create a more persistent development setup. Note that Blackbox.ai will request access to private repositories, which is something to be mindful of.
Preparing the Supabase Project
Before integrating with Blackbox.ai, you need to set up your Supabase project with a few initial steps:
1. Create and Log into a Supabase Account
Go to supabase.com, click the “Start your project” button at the top to sign up. If you already have an account, simply click “Sign in.”
2. Create a New Project
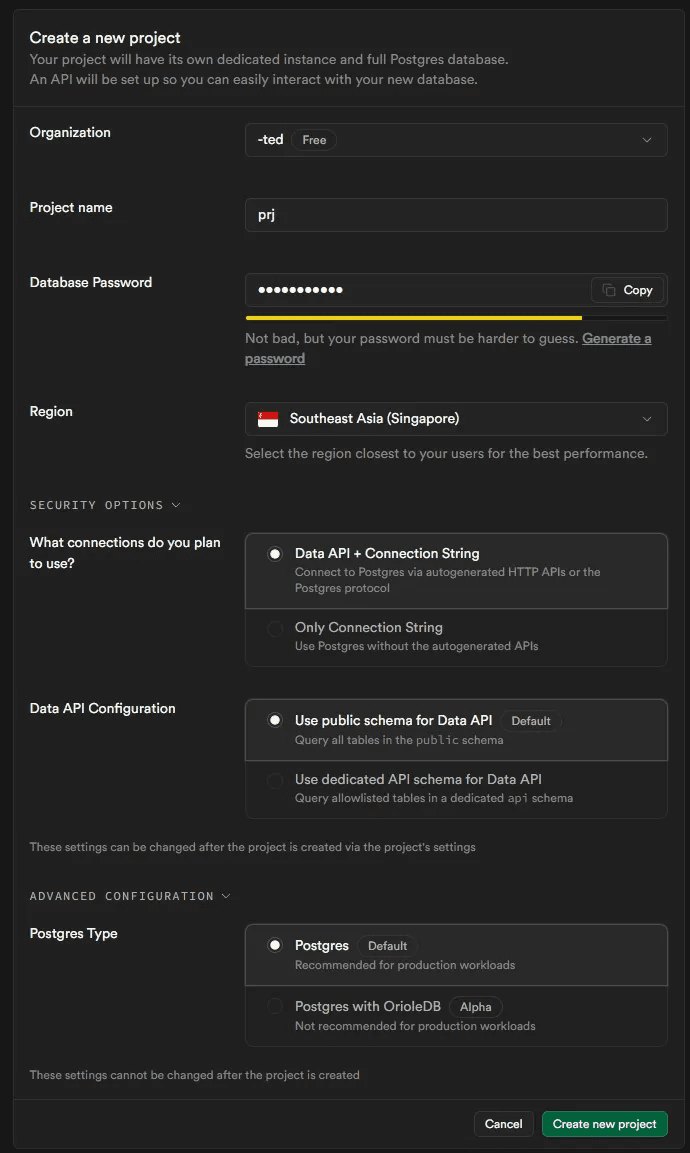
When creating a project, you’ll be asked for a team name, project name, and a database password. Fill these in and click “Create new project,” leaving the remaining fields as their default.
3. Create a Table
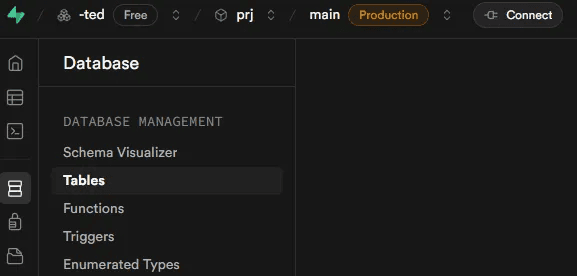
Click the Database icon on the left sidebar, then go to the Tables section. Click the +New Table button to create a new table with the following schema:
Table name:
myfruitsColumns:
ID(auto-generated, type:int8)fruits(type:text)count(type:numeric)
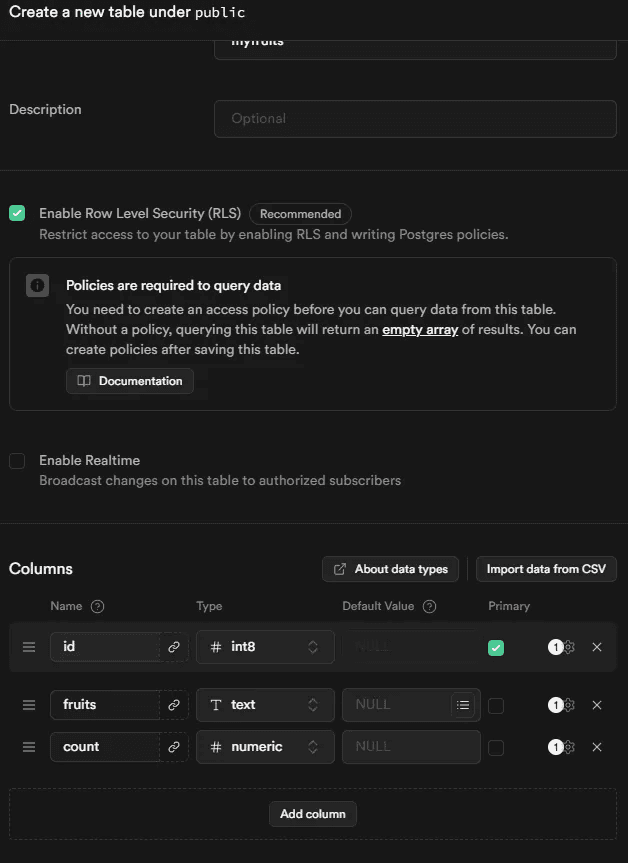
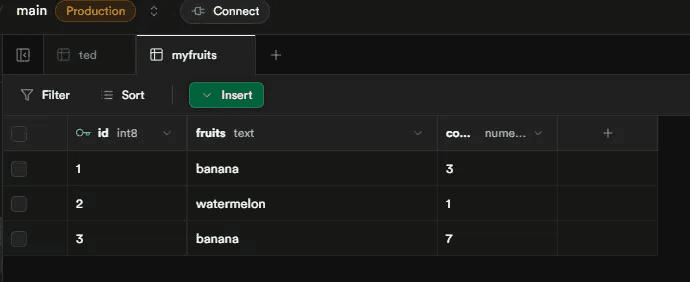
Click Save to finalize the table. After it's created, click the hamburger menu and select View in Table Editor. This will open a page where you can manually input data. Click Insert, then Insert row, and fill in the table with your sample data.
Entering a Prompt in Blackbox.ai
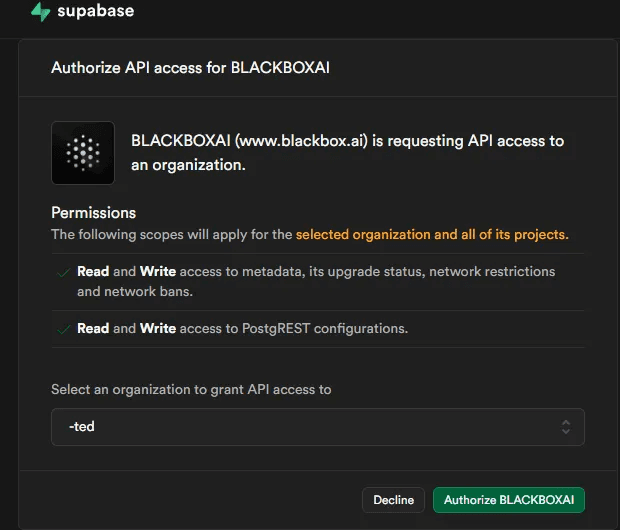
Back in Blackbox.ai, click the Remote Agent button at the top, then select Supabase to initiate the connection with your Supabase project.

Now, try entering the following prompt:
"Please create a Node.js-based server that fetches data from a table named myfruits in Supabase. I’d like to be able to view it on the web as well."
In response, Blackbox.ai automatically generates a working codebase with:
Node.js server code
A
.envfile containing your Supabase configurationWeb-accessible URI: The server is deployed to a URI where the data can be viewed directly in a browser
Error Handling: Built-in error handling for network requests
Automating Supabase Configuration with the .env File
One of the most impressive aspects of the integration is that Blackbox.ai automatically generates a .env file when working with Supabase. Normally, you would need to manually create this file and enter values such as:
SUPABASE_URLSUPABASE_ANON_KEYJWT_SECRETOther environment variables
However, Blackbox.ai automatically fetches the JWT_SECRET for you. Once you log into your Supabase project and specify which one to use, it performs the following tasks:
Detects your Supabase project’s URL and keys
Includes the appropriate JWT secret
Inserts this information into a
.envfileConfigures the server code to use it
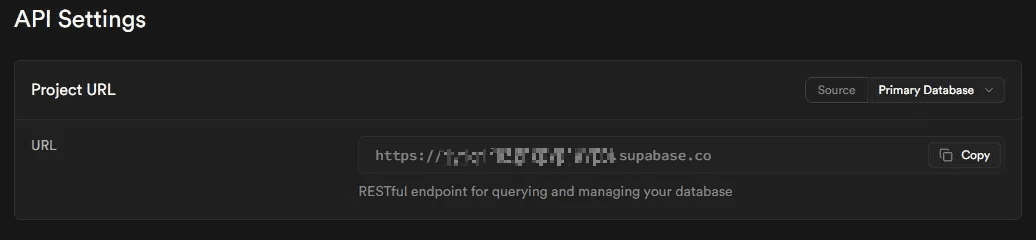
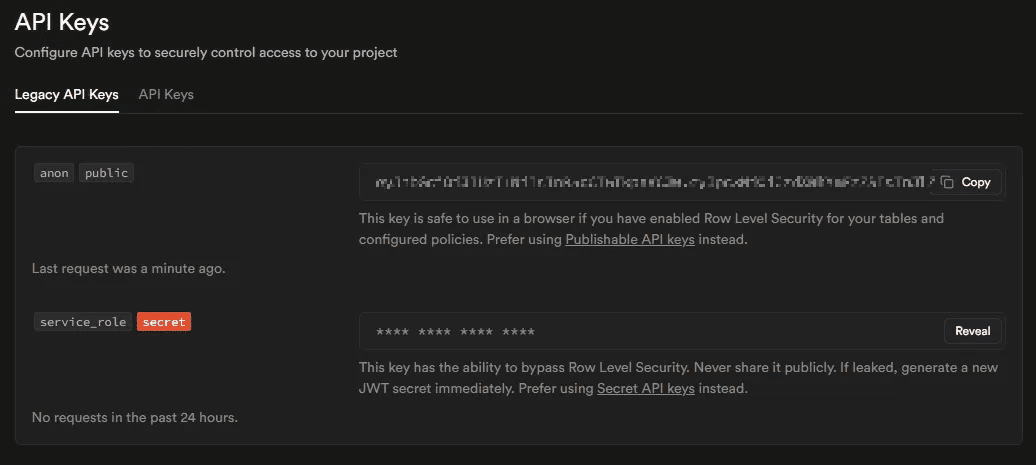
That said, Blackbox.ai doesn’t fetch the SUPABASE_URL or SUPABASE_ANON_KEY—you’ll need to retrieve these manually from your Supabase dashboard:
Navigate to your project, click Project Settings on the sidebar.
Under the CONFIGURATION section, click Data API to get the
SUPABASE_URL.Go to the API Keys tab to retrieve the
SUPABASE_ANON_KEY.
Sample Auto-Generated .env File
Thanks to this semi-automated .env setup, developers can focus more on coding and less on configuration. Even beginners can quickly see results without diving into complex setup steps—making the experience highly beginner-friendly.
Verifying the Output

When you visit the provided URI from Blackbox.ai, you should see the data from the myfruits table displayed directly in the browser. It’s impressive that everything from data fetching to rendering is handled automatically without any additional setup or coding.
However, one downside is that sometimes the entire prompt-to-output process can take longer than expected. While this happens in the background and allows for multitasking, reducing the wait time would certainly improve workflow efficiency.
Conclusion
This hands-on walkthrough shows just how seamless the integration between Blackbox.ai and Supabase can be. With no need for extensive API documentation or complex configurations, a simple prompt is all it takes to spin up a fully functional server and see results.
AI-powered development tools like Blackbox.ai are becoming increasingly practical and powerful, especially when integrated with platforms like Supabase. If you’re a solo developer or a team needing rapid prototyping capabilities, I highly recommend giving this workflow a try.